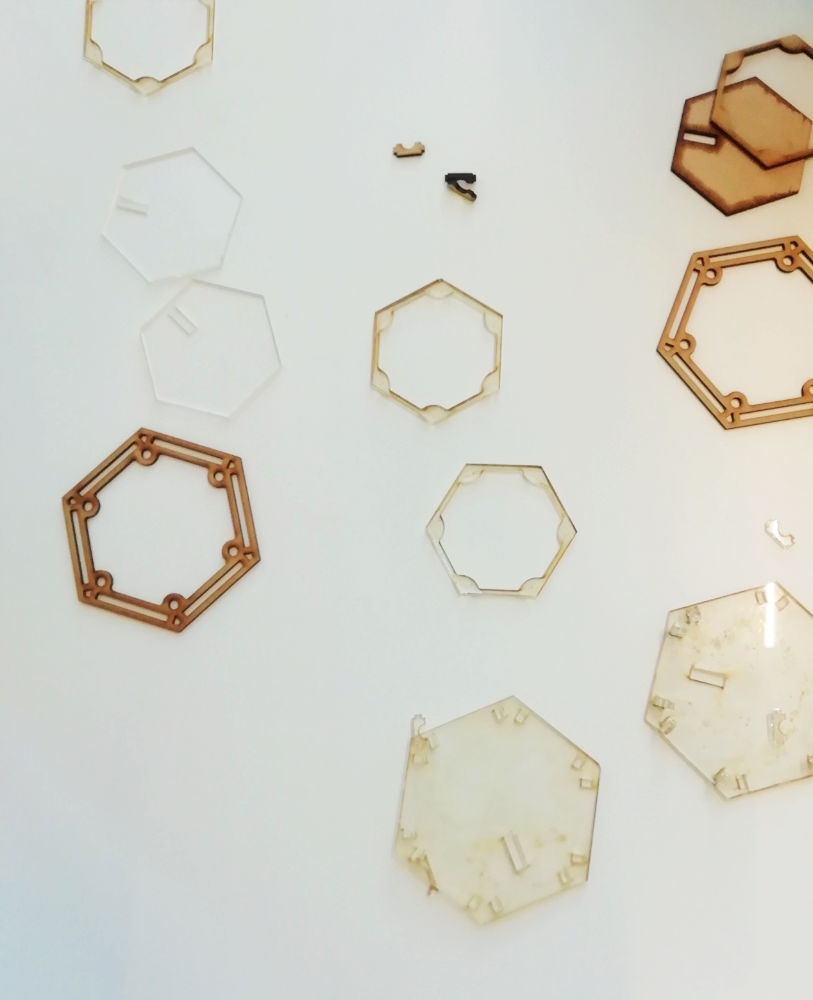
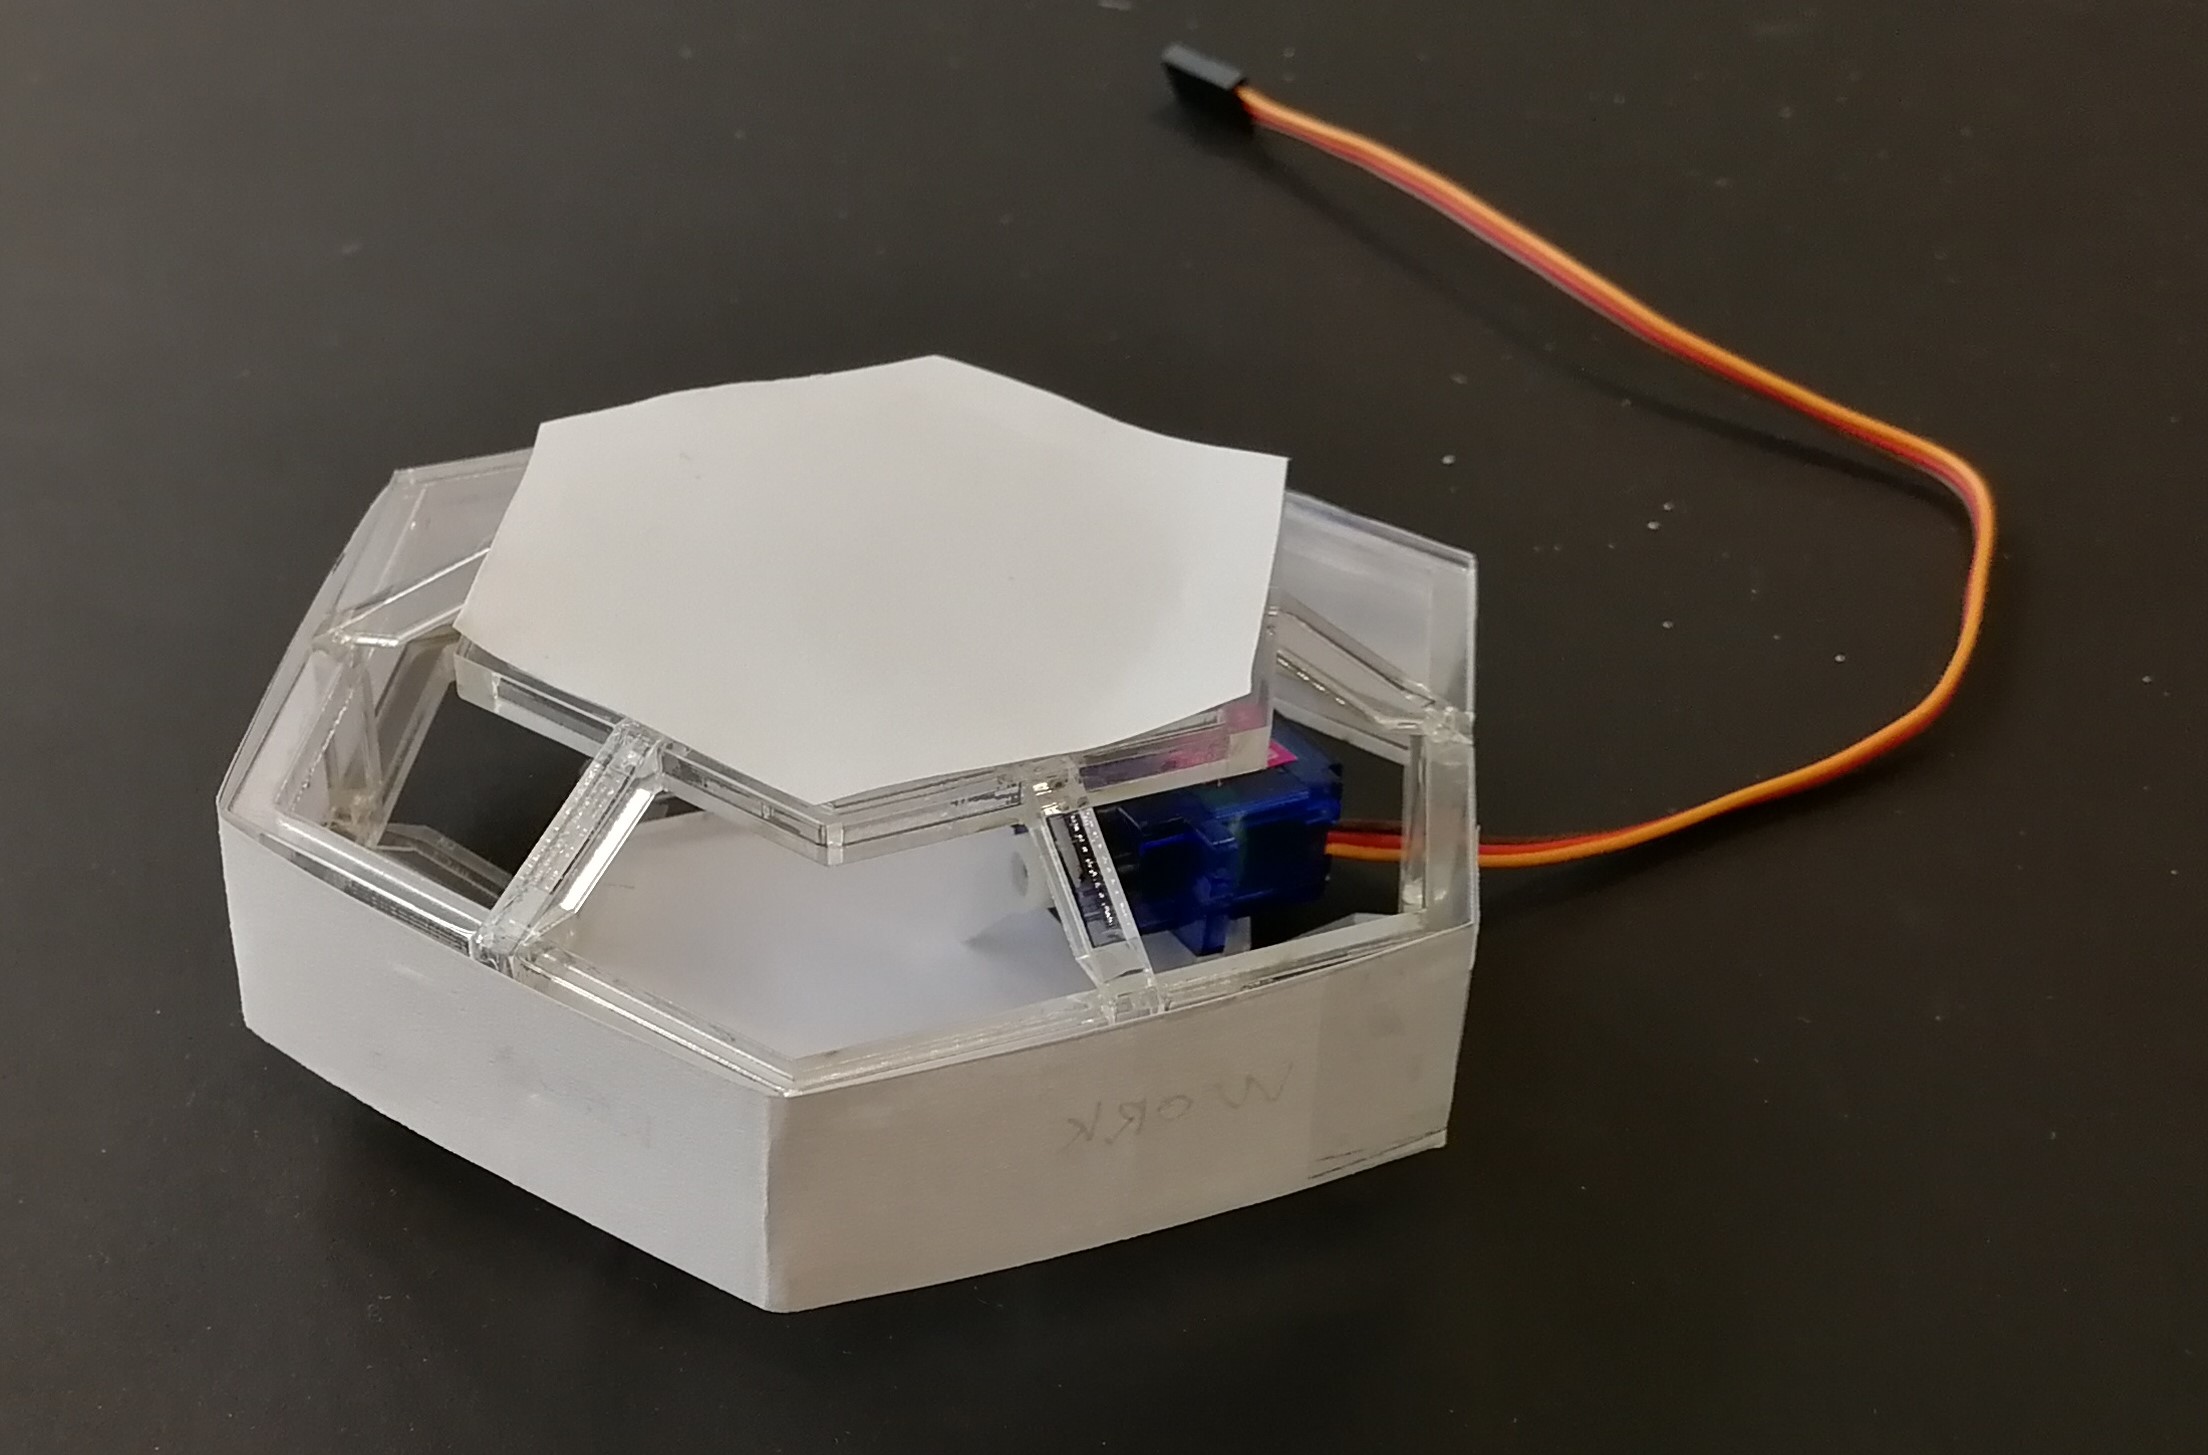
I am always expanding my knowledge on technology and realization, ranging from programming to manufacturing and beyond. I make much use of rapid prototyping techniques, as they are useful to quickly iterate and test concepts, which fits my design process. In the process of making Verso (.pdf), I had my first experience with the laser cutter (figure 15 & figure 16), wireless data logging, and a (relatively) long term deployment, which required much sturdier prototypes (figure 17) and additional measures to ensure the deployment went as planned. For this, wireless data logging was very useful, as it allowed us to monitor the devices’ states from a distance and lower the risk of losing (locally stored) data.
A second project with its main weight in the technology and realization area is InStepIn, a research artefact I designed for the TU/e and external partners (figure 18). It focuses on improving office vitality by encouraging workers to be more active. The artifact builds on a gifting experience, where colleagues work together to achieve a collective (step) goal. The (technological) challenges here were making a small wearable that seamlessly connects to a base module. For this I used pogo pin connectors (figure 19), and for the housing I learned how to make snap fittings (figure 20) using a 3D printer that spares space otherwise used for screws. Additionally, I needed to learn how to program alterative micro controllers than I was used to. For the small wearable, this required programming a bare-bones ATtiny85 (figure 21). Such knowledge enables me to come along with new technological developments, as I am used to work with (yet) unfamiliar technology.
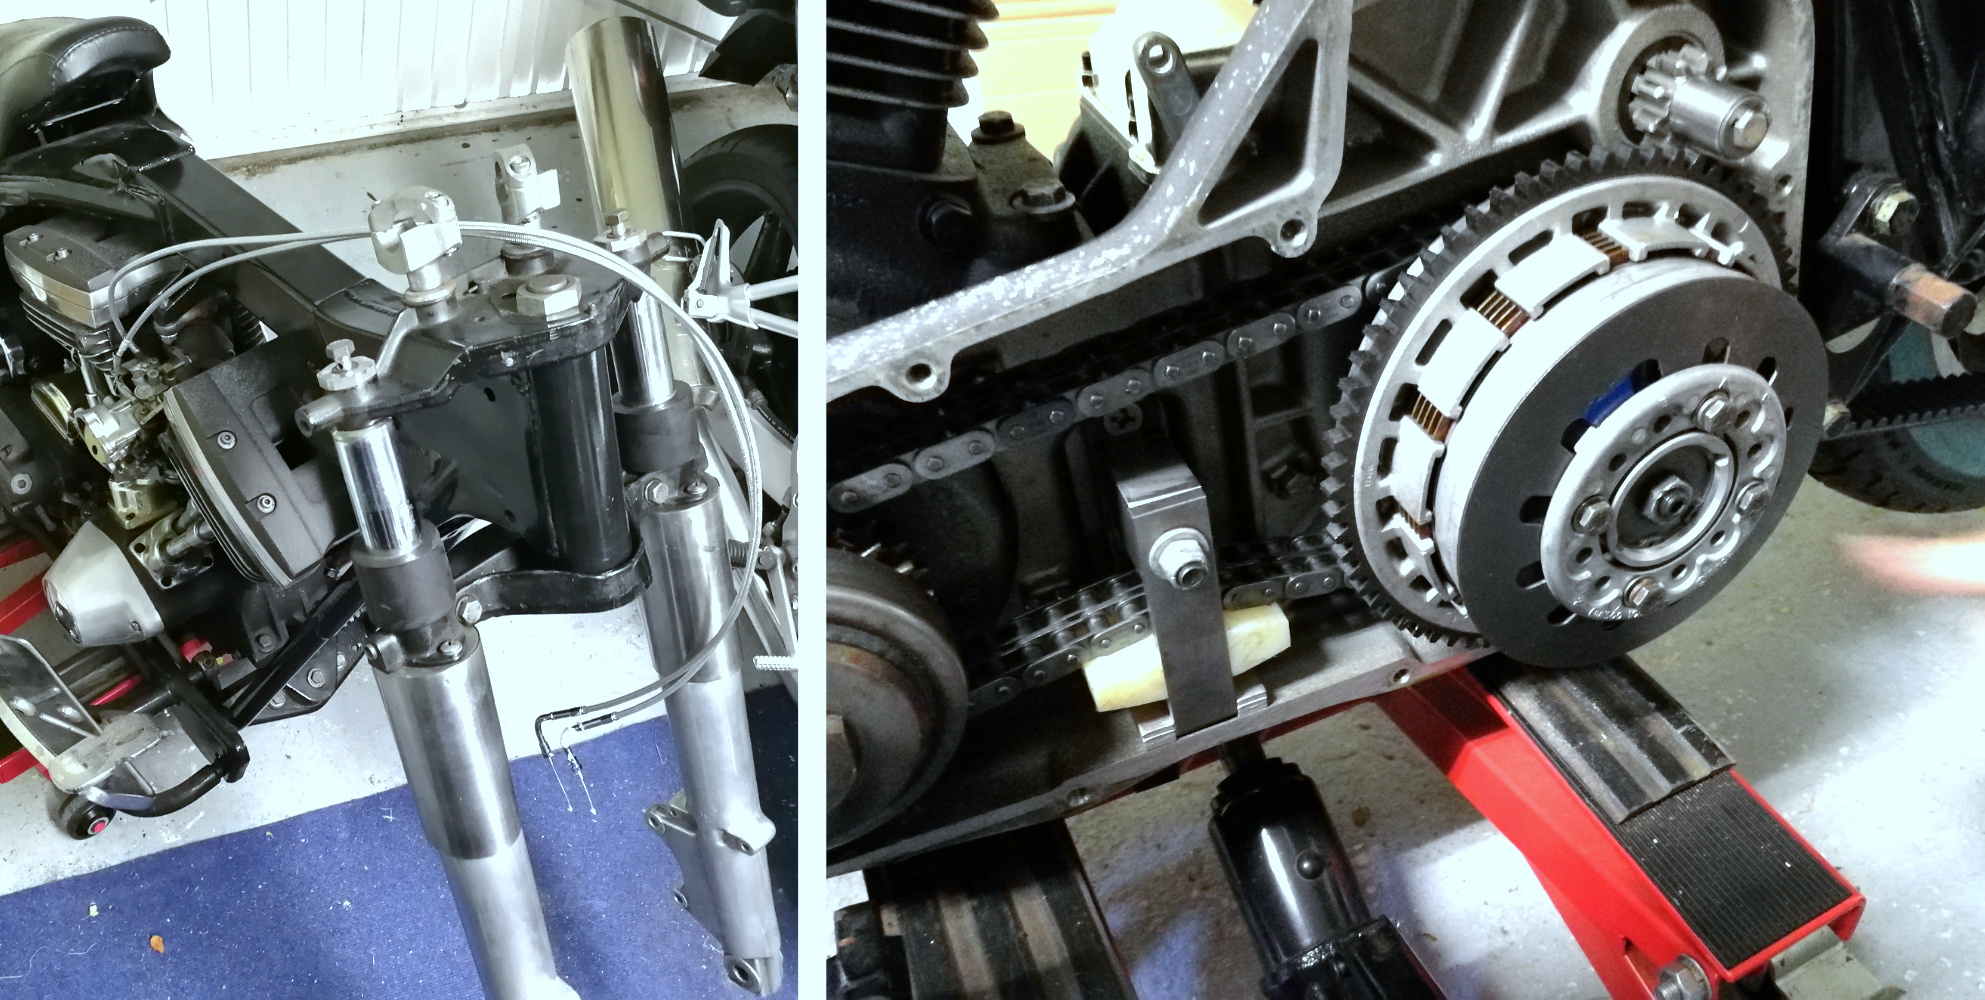
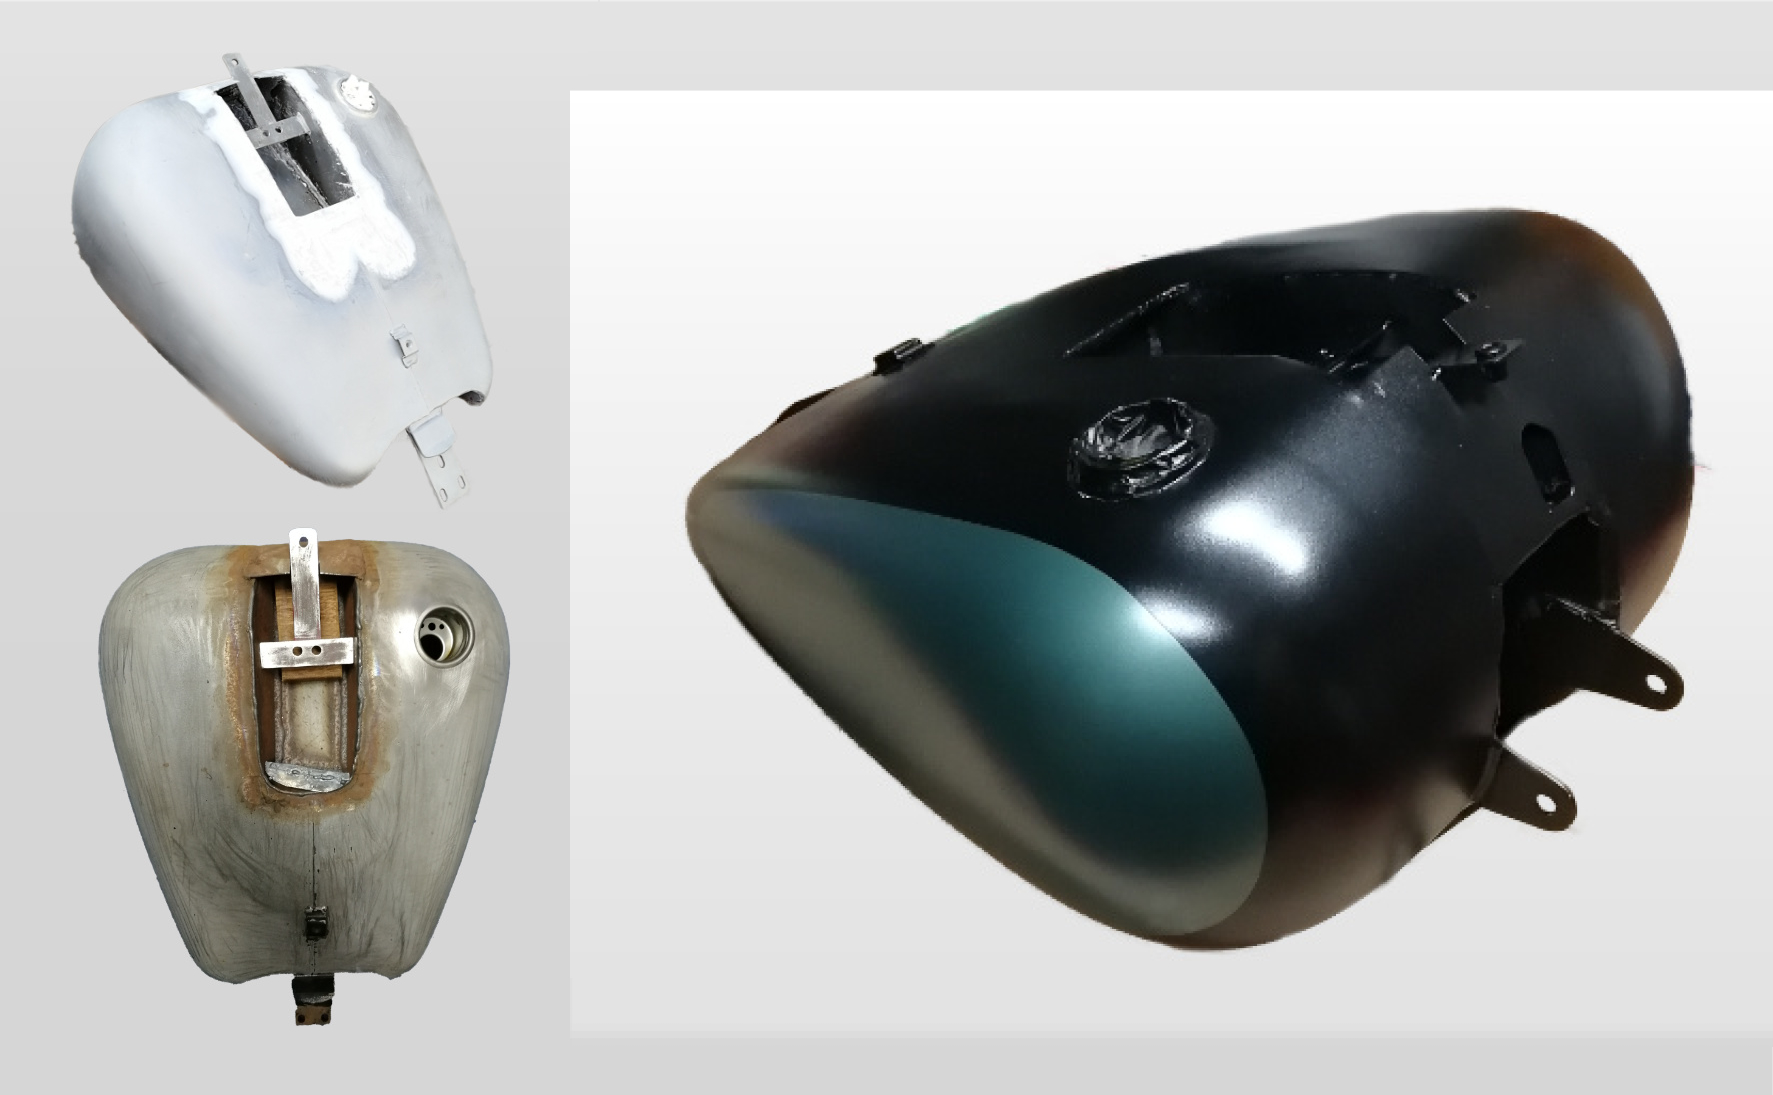
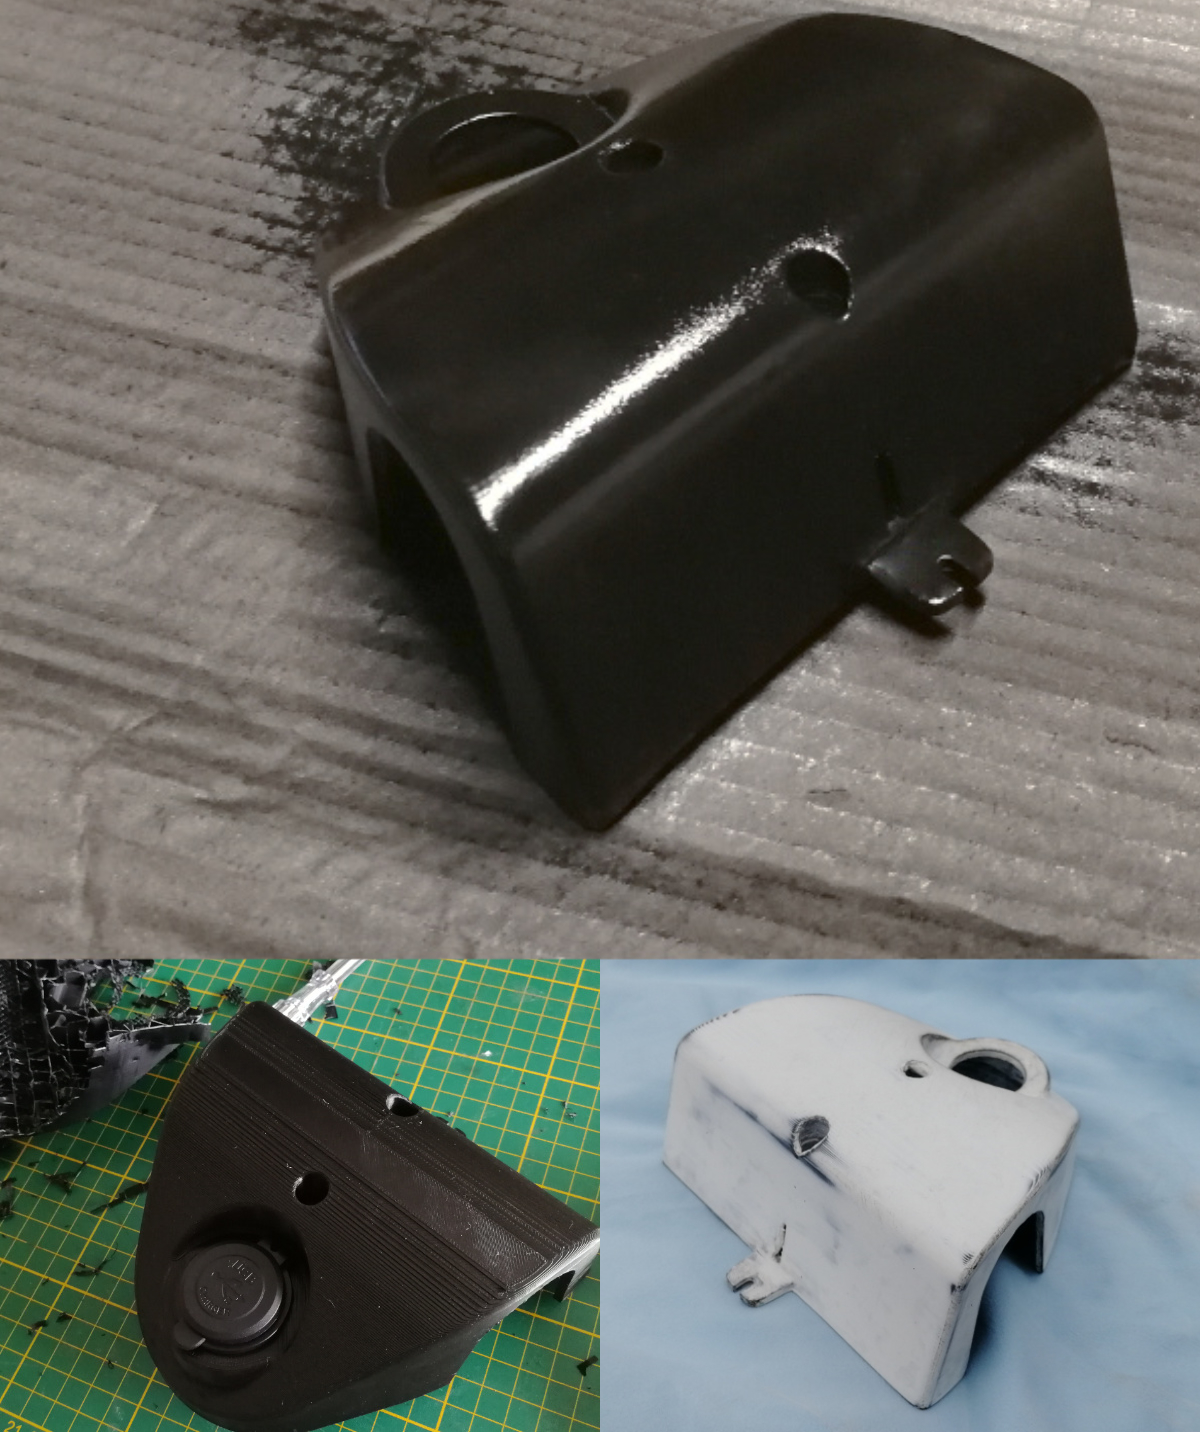
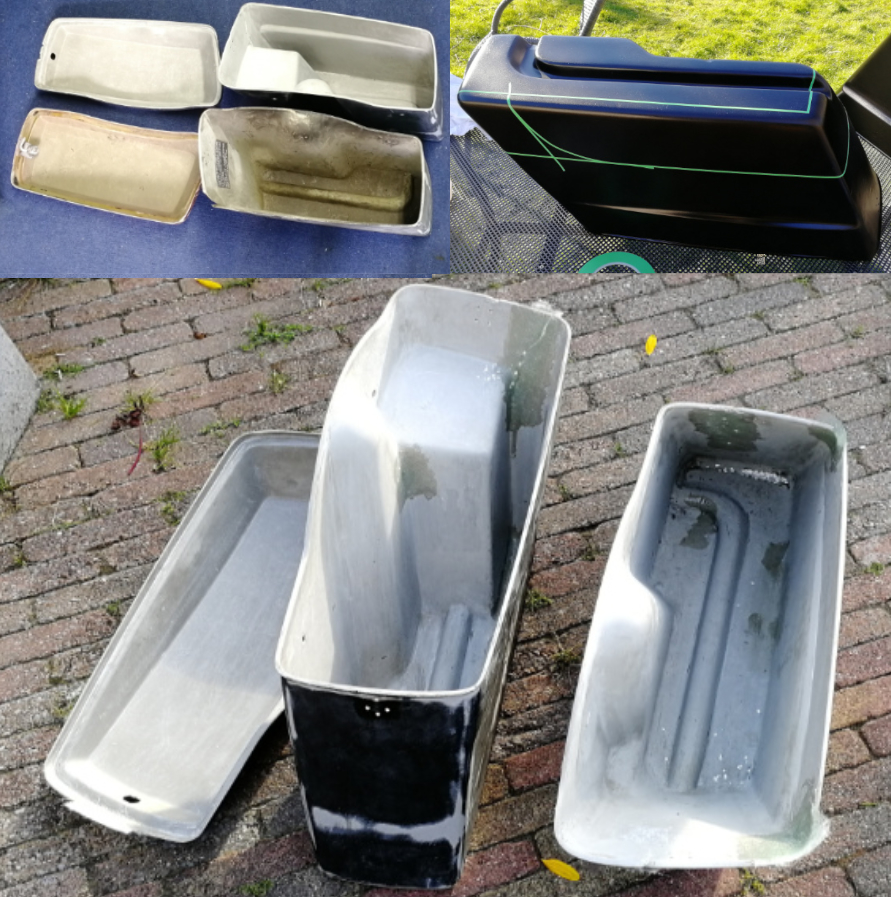
On this same note, I want to quickly mention another extra-curricular project I did. I restored and customized a 1989 Harley Davidson (figure 22, figure 23 & figure 24), without any prior knowledge on vehicle mechanics. Compared to university projects, this was a significantly larger task, which taught me how to deal with a seemingly unfeasible job as long as you’re working in a structural manner. An approach I re-applied to the one-year design and development of InForm. In addition to the essentials, I designed some custom parts (figure 25) to save money and include some accessories, for which I explored ways to make 3D prints look like an original part (figure 26). Lastly, I learned laminating with fiberglass (figure 27), which is a useful skill when making large, complex shapes, for which 3D printer or laser cutter are not suitable.